Mavic 3M on Mountain Highways: A Practical Flight
Mavic 3M on Mountain Highways: A Practical Flight-Altitude Case Study for Corridor Vegetation Work
META: A field-based Mavic 3M case study for mountain highway vegetation operations, covering optimal flight altitude, RTK precision, multispectral scouting, drift control, battery planning, and data workflow.
By Marcus Rodriguez, Consultant
Mountain highways punish sloppy drone workflows.
The terrain changes every few seconds. Guardrails, sign gantries, cut slopes, drainage ditches, utility lines, retaining walls, and crosswinds all stack risk into a narrow corridor. If the mission involves spraying roadside vegetation or planning a precision treatment program, the biggest mistake is thinking altitude is just a comfort setting. In this environment, flight altitude becomes the control point that affects drift, coverage consistency, obstacle clearance, image quality, and how useful your data will be after the sortie.
That is where the Mavic 3M deserves a more careful discussion than the usual product summary.
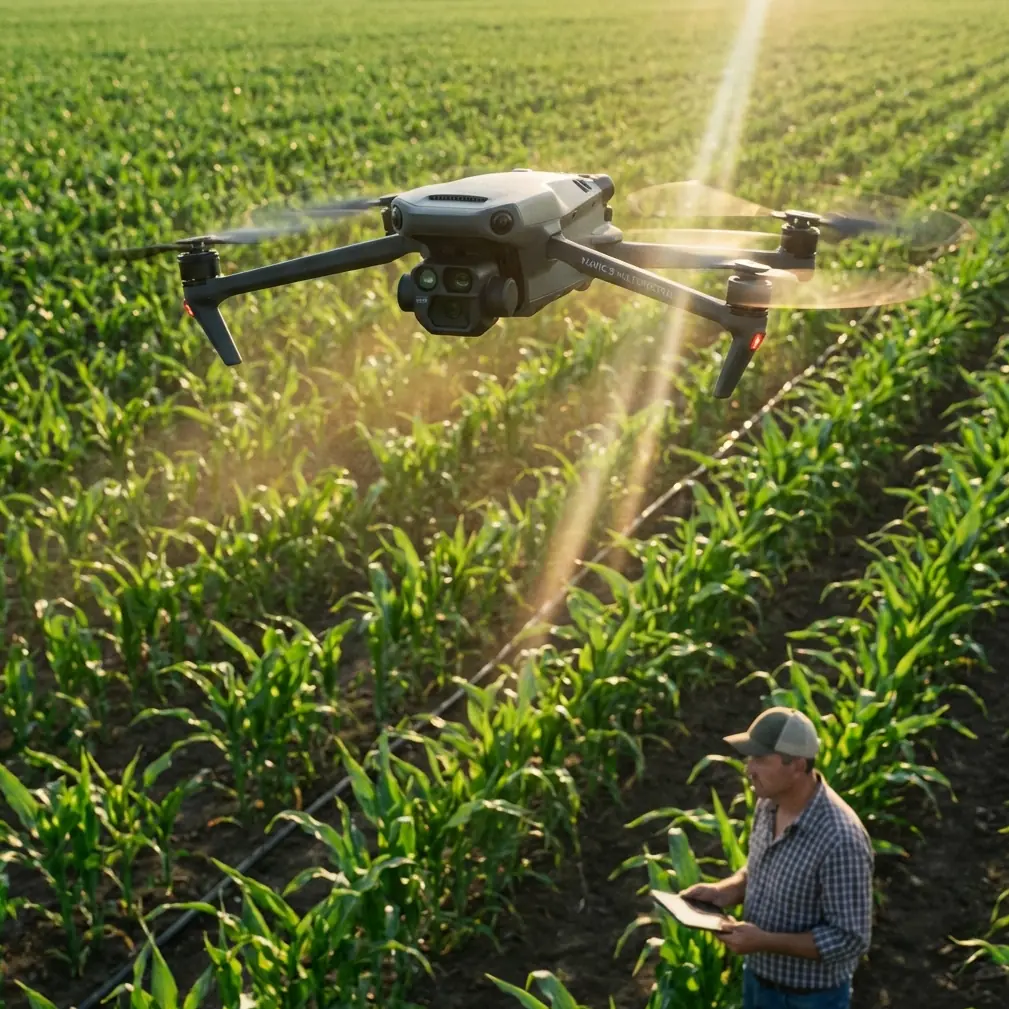
This aircraft is often talked about for multispectral mapping, but in mountain highway work, the real advantage is how its imaging, RTK-backed positioning, and compact deployment help teams make better operational decisions before any spray system goes near the road edge. The Mavic 3M is not the spray platform itself in most corridor programs. It is the aircraft that helps you decide where treatment is needed, where drift risk is unacceptable, and what flight parameters are realistic along steep, broken terrain.
The scenario: roadside vegetation pressure on a mountain corridor
Picture a two-lane mountain highway with alternating fill slopes and rock cuts. Vegetation is encroaching on shoulders, drainage channels are partially blocked, and some guardrail sections are beginning to disappear into brush. A contractor’s ground crew wants a treatment plan for the corridor, but a blanket approach would be wasteful and risky. Some sections sit above waterways. Some sections face sudden wind acceleration as the road rounds exposed ridgelines. Other sections have enough vertical relief that a “safe” low pass on one side becomes a collision hazard a few meters later.
In this kind of job, “optimal altitude” does not mean one number for the whole mission. It means a repeatable operating logic.
The most useful starting point comes from a crop-survey method described in the ArcGIS-based light UAV workflow reference. That document outlines a simple but operationally smart pattern: fly at about 40 meters as a safer transit height, move over the target area, then descend to roughly 15 to 20 meters for vertical image capture before climbing again to continue horizontally. The source compares the method to “dragonfly touching water” because the aircraft dips in to collect close detail, then rises back up before moving on.
That idea translates remarkably well to mountain highways.
Why the “40 meters transit, 15–20 meters detail pass” logic matters
On agricultural blocks, the reason for climbing before horizontal movement is obvious: avoid low wires, buildings, and elevated edges. The source explicitly warns that low-altitude horizontal flight can lead to entanglement with wires or collisions with embankments and structures. On mountain roads, that risk is even more severe because the obstacles are less uniform and the terrain itself can rise into the aircraft’s path.
For Mavic 3M corridor work, I advise teams to think in two altitude bands:
- Transit band: around 40 meters above the local obstacle environment when shifting between sections
- Collection band: around 15 to 20 meters above the target vegetation zone when conditions allow and when detailed vertical assessment is required
Operationally, this does three things.
First, it reduces collision exposure during lateral movement. That sounds basic, but in mountain roads, most pilot errors happen between target areas, not over them. Teams get comfortable after a clean data capture, then skim low toward the next section and run into a pole, line, branch, or rising slope.
Second, it improves the reliability of analysis. The Mavic 3M’s multispectral value is strongest when data quality is consistent. If your collection altitude jumps unpredictably because the pilot is improvising every pass, your pixel consistency, overlap quality, and interpretation confidence all suffer. Descend only when you are over the specific treatment zone and ready to capture it properly.
Third, it creates a cleaner handoff to any later spray planning. Whether your treatment is done by ground crew, vehicle-mounted systems, or a larger ag drone adapted for corridor work, you want a map that separates “transit” from “action.” That separation is what keeps spray plans disciplined.
The hidden lesson in the battery numbers
One of the most useful details in the ArcGIS reference has nothing to do with sensors. It is about energy budgeting.
The document notes that, in field testing, one sample plot’s automated orthomosaic flight consumed one battery, while manually collecting interpretation sample-point photos required at least another battery. With skilled operation, two to three batteries, each around 30 minutes of flight time, could complete all field collection for one sample unit.
That matters for mountain highway work because corridor teams routinely underestimate the battery penalty of mixed-mode operations.
A Mavic 3M mission on a road corridor is rarely just one neat mapping block. It often includes:
- A structured mapping pass for corridor-wide orthomosaic production
- Manual inspection or targeted low-altitude verification of problem spots
- Extra hovering or repositioning caused by terrain, traffic coordination, and wind checks
Those are three different energy behaviors. The first is predictable. The second and third are not.
If you plan the day as though the whole mission is just a mapping route, your margins disappear fast. The field lesson from the reference is simple: separate your battery planning by task type, not by distance alone. For a mountain highway operation, that usually means assigning dedicated battery reserves for close-detail verification after the main survey. It also means not chasing “one more section” when the return leg involves climbing away from a cut slope in gusty air.
Why multispectral is useful here even if the final task is spraying
The Mavic 3M earns its place in this scenario because roadside vegetation treatment should start with discrimination, not assumption.
A generic visual survey can tell you where plants exist. It does not reliably tell you where vigor is strongest, where regrowth is active along drainage lines, or where treatment boundaries should be tightened to avoid overspray near sensitive edges. Multispectral data gives corridor managers a way to grade vegetation pressure instead of treating the entire right-of-way like a single surface.
That said, not every surface near a mountain highway behaves nicely in spectral analysis. The hyperspectral reference on water monitoring and oil detection makes a broader remote-sensing point that remains relevant: complex environments can produce confusing spectral responses, including the classic problem of different materials looking similar and similar materials looking different. The document specifically describes this as “same object, different spectrum; different object, same spectrum” in challenging sensing conditions.
Bring that lesson to mountain highways and the caution becomes obvious. Wet asphalt, shaded rock, concrete barriers, patchy soil, culvert outflows, and mixed roadside species can all complicate interpretation. If your team treats multispectral output as automatic truth, your spray map will be noisy.
The right use of Mavic 3M data is not blind automation. It is guided interpretation.
You use the multispectral layer to flag vegetation stress, vigor, density transitions, and drainage-related growth patterns. Then you verify critical sections with closer visual capture, especially where treatment boundaries approach water, culbs, reflective surfaces, or deep shadows cast by slopes and walls.
Optimal altitude is really a drift-control decision
Since the reader scenario involves highway spraying in mountains, let’s talk about what altitude actually changes for drift management.
When the drone or survey platform flies too high over the target corridor, three problems start to compound:
- Crosswind has more time to push droplets or distort your treatment assumptions
- Variable terrain creates inconsistent height-above-target
- Swath width becomes less predictable around slope edges and curved shoulders
When you fly too low, you gain detail but lose margin. Rotor wash can become more disruptive near loose roadside vegetation, and obstacle clearance gets tight around signs, cables, and rising embankments.
That is why a 15 to 20 meter detail altitude is a smart reference point for pre-treatment assessment with the Mavic 3M. It is low enough to improve target-level confidence, but high enough to avoid turning every corridor segment into a high-stress obstacle thread. Then, when transitioning, climb back toward the 40 meter safety band rather than dragging low across unknown terrain.
For actual spray execution by a dedicated application platform, nozzle calibration and drift control still have to be tuned to the treatment aircraft, formulation, and weather. The Mavic 3M will not solve that by itself. What it does do is help you map where lower-altitude, narrow-swath treatment makes sense and where wider, faster application would create too much drift exposure.
RTK fix rate and corridor confidence
Roadside work lives or dies on repeatability.
If you are returning to the same kilometer markers over multiple maintenance cycles, centimeter-class positioning is not just a nice spec. It is how you compare one mission against the next without guessing whether the vegetation changed or your map shifted. In mountain corridors, RTK quality can degrade when slopes block sky view or when the route cuts through mixed canopy and rock faces. That is why teams should monitor RTK fix rate aggressively rather than assuming every logged point is equally trustworthy.
With the Mavic 3M, a healthy RTK workflow supports three practical outcomes:
- Better alignment between orthomosaics from different dates
- More credible treatment-zone boundaries near barriers, shoulders, and drainage structures
- Cleaner integration with GIS-based asset management workflows
And this is where the reference workflow around Drone2Map becomes relevant. The document notes that after selecting the image folder, the software can automatically read the photo metadata and populate the project list. That detail sounds administrative, but it has real operational value. Good metadata discipline is what allows your imagery, position records, and processing chain to stay coherent. If the files are messy, your corridor analysis gets messy too.
The same reference also warns that folder paths and filenames should avoid Chinese characters or spaces because processing may fail. Strip away the language-specific detail and the broader lesson is universal: clean file structure is part of field reliability. For recurring mountain highway jobs, standardized folder naming can save hours of rework.
A field workflow that actually fits the Mavic 3M
If I were setting the workflow for this type of mission, I would keep it tight:
1. Corridor segmentation before takeoff
Break the highway into short sections based on terrain behavior, not just distance. Exposed ridge curves, shaded cuts, drainage crossings, and retaining-wall zones should each be treated differently.
2. High-confidence transit altitude
Use the around-40-meter concept as your default relocation band when moving between segments or crossing uncertain obstacle environments.
3. Low-altitude detail collection only over decision zones
Descend to 15–20 meters where you need vertical detail on vegetation density, shoulder encroachment, ditch obstruction, or regrowth patterns.
4. Separate mapping batteries from verification batteries
The field reference’s two-to-three battery logic is highly realistic for mixed missions. Do not combine broad mapping expectations with close-range manual inspection assumptions.
5. Use multispectral as a prioritization layer
Let the Mavic 3M identify zones that deserve treatment first, not as an excuse to eliminate human review.
6. Build the spray brief from terrain, not from imagery alone
Include slope exposure, likely crosswind corridors, traffic constraints, and exclusion edges along water or sensitive drainage.
If you need help structuring a corridor workflow around those variables, you can message our field team directly here: discuss your mountain highway mapping plan.
The Mavic 3M’s real role in mountain spraying projects
A lot of teams ask the wrong question. They ask whether the Mavic 3M can “do highway spraying.”
The more intelligent question is whether the Mavic 3M can make highway spraying safer, tighter, and more selective.
The answer is yes.
Its value is upstream. It helps define where treatment should happen, what altitude bands are safe for reconnaissance, where drift risk increases, and which sections need a second look before application. In mountain environments, that matters more than brute payload. Precision starts with knowing the corridor in enough detail to avoid lazy decisions.
So if you want one operational takeaway, make it this: on mountain highways, stop flying low just because the target is low. Move high, inspect low, then move high again. That single discipline—reflected in the 40-meter transit / 15–20-meter capture logic from the reference workflow—does more for mission safety and data quality than most pilots expect.
And when that data is handled cleanly, processed into orthomosaics, and interpreted with an understanding of spectral ambiguity, the Mavic 3M becomes exactly what it should be in a corridor vegetation program: not the whole solution, but the aircraft that makes the rest of the solution more precise.
Ready for your own Mavic 3M? Contact our team for expert consultation.