Precision Forest Monitoring with the DJI Mavic 3M
Precision Forest Monitoring with the DJI Mavic 3M
META: Learn how the DJI Mavic 3M enables precision forest monitoring at high altitude with multispectral imaging, RTK positioning, and centimeter precision workflows.
By Marcus Rodriguez, Drone Consulting Specialist
TL;DR
- The Mavic 3M combines a multispectral camera array with an RGB sensor, making it a compact powerhouse for high-altitude forest health monitoring and canopy analysis.
- RTK positioning delivers centimeter precision that transforms raw aerial data into actionable forestry intelligence across vast, rugged terrain.
- Pre-flight sensor cleaning is a non-negotiable safety step that directly impacts data accuracy and flight reliability—skip it and your entire dataset suffers.
- This tutorial walks you through a complete high-altitude forest monitoring workflow, from pre-flight preparation to post-processing multispectral indices.
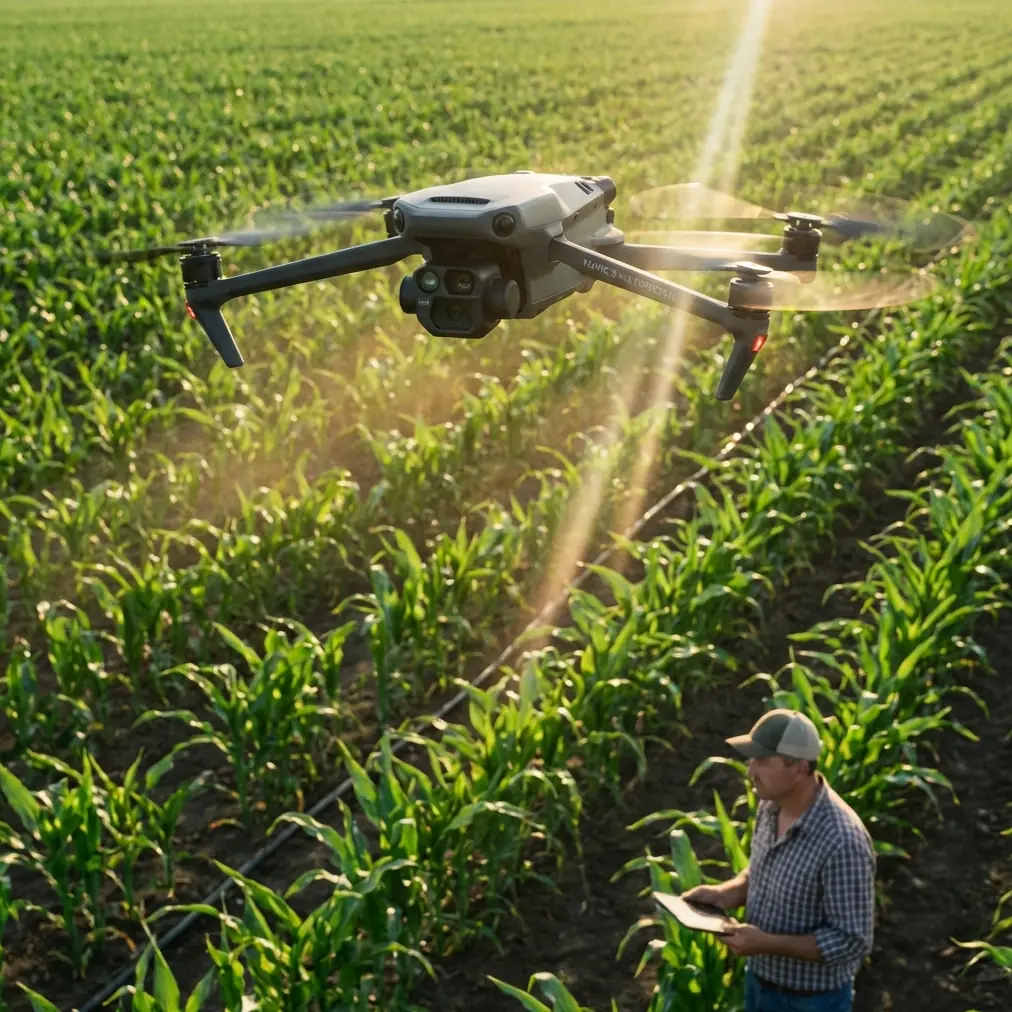
High-altitude forest monitoring punishes sloppy preparation. A single dirty lens or miscalibrated sensor can render an entire day of flight data useless across thousands of hectares of canopy. The DJI Mavic 3M solves many of the hardware challenges forestry professionals face—but only if you know how to deploy it correctly. This step-by-step tutorial covers every phase of a high-altitude forest monitoring mission, starting with the pre-flight cleaning protocol that most operators dangerously overlook.
Why the Mavic 3M Excels at High-Altitude Forest Monitoring
Traditional forestry surveys rely on satellite imagery or manned aircraft overflights. Both approaches suffer from poor temporal resolution and prohibitive cost per hectare. The Mavic 3M occupies a critical middle ground: it's portable enough to hike into remote mountain staging areas yet powerful enough to capture multispectral data across four discrete spectral bands (Green, Red, Red Edge, and Near-Infrared) plus a 20MP RGB camera.
At elevations above 2,500 meters, air density drops significantly. Rotorcraft must work harder to generate lift, which reduces flight time and payload capacity. The Mavic 3M's compact 951g airframe mitigates this problem. Its efficient propulsion system still delivers approximately 38 minutes of flight time at moderate altitudes, though operators should expect a 10–15% reduction in hover time above 3,000 meters.
Key Specifications for Forest Applications
The Mavic 3M wasn't designed exclusively for forestry—its agricultural DNA shows in features like spray drift mapping compatibility and nozzle calibration data integration. But these same capabilities translate directly to forest health monitoring, pest detection, and post-fire recovery assessment.
| Specification | Mavic 3M Detail | Forest Monitoring Relevance |
|---|---|---|
| Multispectral Bands | Green, Red, Red Edge, NIR | NDVI, NDRE canopy health indices |
| RGB Camera | 20MP, 4/3 CMOS | Visual inspection, orthomosaic maps |
| RTK Positioning | Centimeter precision | Accurate georeferencing without GCPs |
| RTK Fix Rate | >99% in open sky | Reliable positioning above tree canopy |
| Max Flight Time | ~38 minutes | Covers 200+ hectares per battery set |
| Effective Swath Width | Adjustable via altitude/overlap | Optimized at 70m AGL for forest work |
| Weather Resistance | IPX6K rated | Survives sudden mountain weather shifts |
| Sunlight Sensor | Integrated on top of aircraft | Normalizes lighting for consistent data |
Step 1: The Pre-Flight Cleaning Protocol You Cannot Skip
Here's where most operators fail before they even launch. The Mavic 3M's multispectral sensor array sits exposed on the underside of the aircraft. At high-altitude staging areas—often dusty trailheads, ash-covered fire roads, or pollen-heavy clearings—contaminants accumulate on lens surfaces within minutes of unpacking.
A contaminated multispectral lens doesn't just blur your image. It shifts spectral reflectance values, which means your NDVI calculations will report healthy vegetation as stressed—or worse, miss early-stage disease entirely.
Cleaning Checklist Before Every Flight
- Inspect all five lens elements (four multispectral + one RGB) with a loupe or phone macro camera
- Use a rocket blower first—never start with a cloth on a dusty lens
- Follow with a microfiber lens pen using gentle circular motions from center to edge
- Clean the top-mounted sunlight sensor—this component calibrates irradiance and is frequently neglected
- Check propeller surfaces for resin, sap, or insect debris that causes vibration and destabilizes gimbal performance
- Verify that the IPX6K-rated seals around the battery compartment and SD card slot are free of grit
Expert Insight: I carry a dedicated "sensor cleaning kit" in a sealed ziplock bag inside my flight pack. At 3,200 meters in the Cascade Range last season, volcanic dust was invisible to the naked eye but showed up on every multispectral band as a systematic reflectance error. A 90-second cleaning routine saved a full day of remapping. Never assume your lenses are clean—verify every single time.
Step 2: Mission Planning for High-Altitude Canopy Analysis
Effective forest monitoring starts on the ground, inside your mission planning software. DJI Pilot 2 or DJI Terra allows you to define survey boundaries, set altitude parameters, and configure overlap settings.
Critical Planning Parameters
- Flight altitude: Set to 70–100 meters AGL (Above Ground Level) for optimal swath width and ground sampling distance balance
- Front overlap: 80% minimum for dense canopy to ensure no gaps between flight lines
- Side overlap: 70% minimum—increase to 75% on steep mountain terrain where elevation changes compress effective overlap
- Speed: Reduce to 7–8 m/s at high altitude to compensate for thinner air and maintain stable image capture
- RTK base station: Deploy at a known survey point or use NTRIP corrections for network RTK; target an RTK Fix rate above 95% throughout the mission
Terrain Following Is Non-Negotiable
Mountain forests rarely sit on flat ground. A fixed-altitude mission over a slope that varies by 200 meters will produce wildly inconsistent GSD (Ground Sampling Distance). Enable terrain-following mode using a pre-loaded DEM (Digital Elevation Model) to maintain consistent AGL altitude.
This single setting determines whether your multispectral data is scientifically comparable across the entire survey area or riddled with altitude-induced radiometric inconsistency.
Step 3: Calibration and Launch Procedures
Before takeoff, place a calibrated reflectance panel on flat ground near your launch point. Capture images of this panel with all four multispectral bands plus the RGB camera. This step enables radiometric calibration in post-processing—essential for comparing data across different flights, days, or seasons.
Launch Sequence for Mountain Environments
- Confirm RTK Fix status—wait for centimeter precision lock before launching
- Verify compass calibration is current (mountain magnetic anomalies can cause drift)
- Check wind speed at altitude using the Mavic 3M's onboard wind estimation—abort if sustained winds exceed 10.7 m/s
- Launch from a flat, debris-free surface to prevent FOD (Foreign Object Debris) ingestion
- Hover at 5 meters for 15 seconds—confirm gimbal stability and live multispectral feed quality
Pro Tip: At high-altitude sites, battery voltage behaves differently in cold air. Pre-warm your batteries to at least 20°C before flight. I use insulated battery warmers powered by a portable USB bank during the hike in. Cold batteries at 3,000+ meters can lose 20–25% of their effective capacity, cutting your survey coverage dramatically.
Step 4: Data Capture and In-Flight Monitoring
Once airborne, the Mavic 3M executes your pre-planned mission autonomously. Your job shifts to monitoring.
What to Watch During Flight
- RTK Fix rate: Should remain above 95%. If it drops, the aircraft may revert to standard GPS positioning, degrading your centimeter precision to meter-level accuracy
- Battery consumption rate: At high altitude, monitor more aggressively than sea-level missions. Plan to land with no less than 25% remaining
- Image capture indicators: Confirm the multispectral array is firing at each waypoint—a missed trigger means a data gap
- Sunlight sensor status: Cloud shadows moving across the survey area are common in mountain environments. The integrated sunlight sensor compensates, but rapid overcast transitions can still introduce noise
Step 5: Post-Processing Multispectral Forest Data
After landing, capture a second set of reflectance panel images. This bookends your radiometric calibration and accounts for any lighting shifts during the mission.
Import your data into DJI Terra, Pix4Dfields, or Agisoft Metashape for processing. Generate the following outputs:
- NDVI maps: Identify stressed canopy areas, insect damage, or drought impact
- NDRE maps: Detect subtle chlorophyll variations invisible to standard NDVI—critical for early-stage conifer disease detection
- RGB orthomosaics: Provide visual context for stakeholder reporting
- Digital Surface Models (DSM): Measure canopy height changes over time to assess growth rates or storm damage
The RTK-tagged imagery eliminates the need for Ground Control Points (GCPs) in most workflows, saving 2–3 hours of field setup time per mission site.
Common Mistakes to Avoid
- Skipping the reflectance panel calibration: Without it, your multispectral indices are relative, not absolute. You cannot compare data between flights or seasons.
- Using fixed altitude over mountainous terrain: Inconsistent GSD destroys data uniformity. Always use terrain-following mode.
- Ignoring the sunlight sensor cleanliness: A fingerprint or dust film on this small sensor throws off irradiance normalization across the entire dataset.
- Flying with cold batteries at altitude: Voltage sag causes early RTH (Return to Home) triggers, leaving gaps in your survey coverage.
- Setting overlap too low for dense canopy: Forest canopy creates matching challenges for photogrammetry software. Below 80/70% overlap, expect holes in your orthomosaic.
- Confusing swath width with effective coverage: Your swath width depends on altitude and sensor FOV, but effective usable width shrinks with required overlap. Plan conservatively.
- Neglecting nozzle calibration data integration: If your forestry workflow crosses into precision treatment applications—such as targeted pest spraying—failing to calibrate spray drift models with accurate nozzle calibration data leads to chemical waste and environmental harm.
Frequently Asked Questions
Can the Mavic 3M operate reliably above 3,000 meters elevation?
Yes. The Mavic 3M has a maximum service ceiling of 6,000 meters. At 3,000+ meters, expect reduced flight times due to lower air density requiring higher rotor RPMs. Plan for 10–15% shorter missions compared to sea-level performance and always pre-warm batteries.
How does the RTK Fix rate affect my forest monitoring accuracy?
The RTK Fix rate determines the percentage of your flight where the aircraft achieves centimeter precision positioning. A rate above 95% means nearly every captured image is georeferenced to within 1–2 centimeters. Rates below this threshold introduce positional errors that compound during orthomosaic stitching, potentially shifting canopy health maps by several meters—enough to misidentify which trees are stressed.
Is the Mavic 3M's IPX6K rating sufficient for mountain weather?
The IPX6K rating means the aircraft withstands high-pressure water jets from any direction. This protects against sudden mountain rain showers and heavy mist. It does not protect against sustained downpour flight or submersion. If weather closes in rapidly—common above 2,500 meters—initiate RTH immediately. The rating provides a safety margin, not an invitation to fly in storms.
Ready for your own Mavic 3M? Contact our team for expert consultation.