Mavic 3M Wildlife Inspection: Urban Best Practices
Mavic 3M Wildlife Inspection: Urban Best Practices
META: Learn how the DJI Mavic 3M multispectral drone transforms urban wildlife inspections with centimeter precision, RTK fixes, and proven field techniques.
TL;DR
- The DJI Mavic 3M combines a visible-light camera with four multispectral sensors, making it the ideal platform for detecting and monitoring wildlife in dense urban environments.
- RTK Fix rate consistency above 95% enables centimeter precision mapping of nesting sites, green corridors, and micro-habitats hidden within cityscapes.
- Multispectral imaging reveals vegetation health and animal activity patterns invisible to the naked eye—critical data for urban ecologists and municipal planners.
- This tutorial walks you through mission planning, sensor calibration, data processing, and common pitfalls so you can run professional-grade urban wildlife surveys from day one.
Why Urban Wildlife Inspection Demands a Smarter Drone
Urban wildlife monitoring has always been a logistical nightmare. Two years ago, I was contracted by a mid-size city council to survey raptor nesting activity across 12 square kilometers of mixed residential and commercial zones. We used a standard RGB drone. The results were, frankly, unusable—blurry canopy shots, no way to distinguish stressed vegetation around nest sites, and zero repeatable flight accuracy. We burned through three weeks of fieldwork and still couldn't deliver reliable habitat maps.
That project changed when we switched to the DJI Mavic 3M. The multispectral sensor array gave us vegetation index data we'd never had access to from the air. The integrated RTK module locked in positional accuracy to the centimeter. What previously took three weeks took five days—with dramatically better data.
This tutorial is built from that hard-won experience. Whether you're a conservation consultant, municipal ecologist, or environmental compliance officer, this guide will show you exactly how to set up, fly, and process Mavic 3M missions for urban wildlife inspection.
Understanding the Mavic 3M Sensor Suite for Wildlife Work
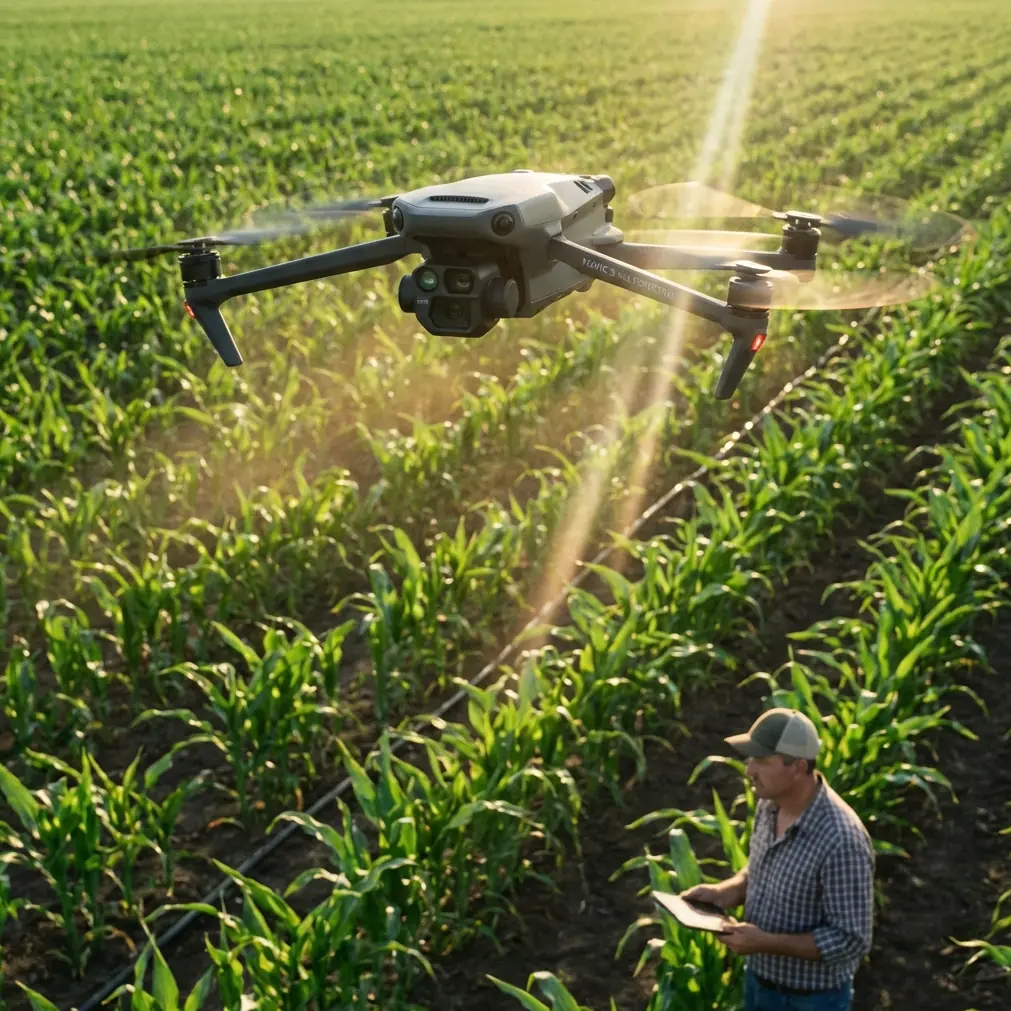
The Mavic 3M isn't marketed as a wildlife inspection tool. Its heritage lies in precision agriculture—think spray drift analysis, nozzle calibration verification, and swath width optimization for crop-spraying drones. But the same sensors that detect crop stress are exceptionally powerful for urban ecology.
What's Under the Hood
- 1 × 20MP RGB camera (4/3 CMOS) for visible-light imagery
- 4 × 5MP multispectral cameras capturing Green (560 nm), Red (650 nm), Red Edge (730 nm), and Near-Infrared (860 nm)
- Synchronized capture across all five sensors on every shot
- Integrated sunlight sensor on top of the aircraft for irradiance calibration
Why Multispectral Matters for Wildlife
When you're inspecting urban wildlife, you're rarely looking directly at the animals. You're reading their environment. Multispectral data lets you:
- Calculate NDVI (Normalized Difference Vegetation Index) to find healthy canopy zones where birds nest
- Detect stressed or dying vegetation that may indicate invasive species encroachment or pollution
- Identify water retention zones in parks and brownfields where amphibians breed
- Track seasonal vegetation changes that correlate with migration and nesting cycles
Expert Insight: Don't overlook the Red Edge band at 730 nm. It's far more sensitive to early-stage vegetation stress than standard NDVI. I've used Red Edge data to identify tree canopies under insect attack weeks before visible symptoms appeared—data that directly predicted raptor nest abandonment in two cases.
Step-by-Step: Planning Your Urban Wildlife Survey
Step 1: Define Your Survey Area and Objectives
Before you power on the Mavic 3M, clarify what you're looking for. Urban wildlife inspections typically fall into one of these categories:
- Nesting site identification (raptors, waterfowl, colonial nesting species)
- Habitat quality assessment (green corridors, urban wetlands, brownfield succession)
- Population corridor mapping (movement patterns between habitat patches)
- Invasive species impact analysis (vegetation damage linked to animal behavior)
Define your area of interest in DJI Terra or your preferred mission planning software. For urban zones, I recommend keeping individual missions under 0.5 square kilometers to maintain manageable file sizes and battery efficiency.
Step 2: Configure RTK for Centimeter Precision
Repeatable data is everything in wildlife monitoring. You need to return to the same sites across seasons and compare datasets with confidence. The Mavic 3M's RTK module is your anchor.
- Connect to an NTRIP-based RTK network or deploy a DJI D-RTK 2 base station
- Verify an RTK Fix rate above 95% before launching—anything lower means your positional accuracy degrades from centimeter-level to decimeter or worse
- Log your base station coordinates and datum for every mission; inconsistent reference frames will wreck your longitudinal analysis
| RTK Status | Positional Accuracy | Acceptable for Wildlife Survey? |
|---|---|---|
| RTK Fix | 1–2 cm horizontal | Yes — required standard |
| RTK Float | 10–30 cm horizontal | Marginal — usable for broad habitat mapping only |
| GNSS Only | 1–3 m horizontal | No — insufficient for repeat surveys |
Step 3: Set Sensor Parameters
For urban wildlife work, your multispectral capture settings matter enormously.
- Set the GSD (Ground Sampling Distance) to 2.7 cm/pixel or finer—this means flying at approximately 60–80 meters AGL depending on conditions
- Use 80% frontal overlap and 70% side overlap for reliable orthomosaic stitching
- Enable the sunlight sensor and take a calibration panel shot (MicaSense-style reflectance panel) before and after each flight
- Shoot in TIFF format for multispectral bands—JPEG compression destroys radiometric integrity
Pro Tip: Urban environments create harsh lighting contrasts—glass buildings throw specular reflections, and narrow streets create deep shadows. Fly between 10:00 AM and 2:00 PM on overcast days whenever possible. Diffuse light produces the most consistent multispectral readings across your survey area.
Step 4: Execute the Mission
With planning complete, execution should be methodical:
- Pre-flight checklist: Firmware current, RTK Fix confirmed, calibration panel captured, airspace authorization secured (critical in urban zones—most cities fall under controlled airspace)
- Launch and monitor: Use DJI Pilot 2 for autonomous waypoint missions. Monitor the live RTK Fix rate indicator throughout the flight.
- Battery management: The Mavic 3M delivers approximately 43 minutes of flight time. In practice, with multispectral capture running continuously, plan for 35 minutes of usable survey time per battery.
- Post-flight: Capture a second calibration panel image. Log ambient conditions (wind speed, cloud cover, temperature).
Processing Multispectral Wildlife Data
Software Pipeline
Raw multispectral data from the Mavic 3M needs specialized processing. Here's the pipeline I use for every urban wildlife project:
- Import TIFF files into DJI Terra, Pix4Dfields, or Agisoft Metashape
- Radiometric calibration using your pre- and post-flight panel images
- Orthomosaic generation with RTK-corrected geotags
- Vegetation index calculation — generate NDVI, NDRE, and custom index layers
- Classification and analysis — export index maps into QGIS or ArcGIS Pro for habitat classification
Interpreting Results for Wildlife Applications
This is where the Mavic 3M's agricultural DNA translates directly into ecological power:
- High NDVI zones (>0.7) in urban parks indicate dense, healthy canopy — prime raptor and songbird habitat
- Low NDVI patches (<0.3) within otherwise healthy areas may signal ground disturbance from burrowing mammals or heavy foot traffic
- NDRE anomalies can reveal early signs of disease in trees that provide critical roosting sites
- Temporal NDVI comparisons across seasons help you map phenological shifts that affect food availability for urban wildlife populations
Technical Comparison: Mavic 3M vs. Alternative Platforms
| Feature | DJI Mavic 3M | Enterprise-Grade Multispectral (Fixed-Wing) | Standard RGB Drone |
|---|---|---|---|
| Spectral Bands | 4 MS + 1 RGB | 5–10 MS + 1 RGB | 1 RGB only |
| Positional Accuracy (RTK) | 1–2 cm | 1–2 cm | 1–3 m (no RTK) |
| Flight Time | 43 min | 60–90 min | 30–40 min |
| Portability | Backpack-ready (920 g) | Vehicle-required | Backpack-ready |
| Urban Maneuverability | Excellent (VTOL) | Poor (runway needed) | Excellent |
| Weather Resistance | IPX6K ingress protection rating | Varies | Typically none |
| Vegetation Index Capability | NDVI, NDRE, GNDVI, LCI | Full suite | None (post-processing workarounds only) |
| Cost Efficiency for Small Teams | High | Low | Moderate (limited data value) |
The IPX6K rating deserves special attention. Urban wildlife surveys can't always wait for perfect weather. Light rain, morning dew, and fog are common in the field conditions where you'll be operating. The Mavic 3M handles these without issue—a significant operational advantage over unprotected platforms.
Common Mistakes to Avoid
1. Skipping Radiometric Calibration Without pre- and post-flight calibration panel captures, your multispectral data has no absolute reflectance reference. Your vegetation indices become relative values that can't be compared across missions. This single mistake invalidates longitudinal wildlife habitat studies.
2. Flying Too High to "Cover More Ground" Increasing altitude above 100 meters AGL pushes your GSD beyond 4 cm/pixel. At that resolution, you lose the ability to distinguish individual tree crowns, small water features, and micro-habitat structures. For wildlife work, resolution beats coverage every time.
3. Ignoring Urban Airspace Regulations Most urban zones require Part 107 waivers, LAANC authorization, or equivalent local permissions. Flying without authorization doesn't just risk fines—it risks shutting down your entire project and damaging the credibility of drone-based wildlife monitoring in your region.
4. Using JPEG Instead of TIFF for Multispectral Bands JPEG compression discards radiometric data. Always capture multispectral bands in TIFF. The file sizes are larger, but the scientific integrity of your data depends on it.
5. Neglecting Wind and Thermal Effects Urban heat islands create unpredictable thermal updrafts between buildings. Wind tunneling through street corridors can exceed safe operational limits even when ambient wind is calm. Always check conditions at flight altitude, not ground level.
Frequently Asked Questions
Can the Mavic 3M actually detect individual animals in urban environments?
The Mavic 3M is not a thermal imaging platform—it won't detect animals by body heat. Its strength lies in habitat-level analysis. You use multispectral data to identify where animals are likely to be based on vegetation health, water proximity, and canopy structure. For direct animal detection, pair the Mavic 3M survey with a thermal platform like the Mavic 3T for a comprehensive monitoring program.
How does swath width affect my urban survey efficiency?
At 70 meters AGL with 70% side overlap, the Mavic 3M's effective swath width is approximately 55 meters per pass. In urban environments with tall structures, you may need to reduce this to account for elevation changes and obstacle avoidance. Plan your flight lines conservatively—an extra 10 minutes of flight time is always preferable to gaps in your orthomosaic.
Is nozzle calibration relevant to wildlife inspection work?
Not directly. Nozzle calibration is an agricultural function tied to spray systems on platforms like the T40/T25. However, the Mavic 3M's multispectral data is routinely used to verify spray drift boundaries in agricultural areas adjacent to wildlife habitats. If your wildlife inspection involves assessing pesticide impact on urban green spaces, the same calibration and mapping workflows apply—you're simply measuring the ecological consequence rather than the application precision.
Bringing It All Together
The DJI Mavic 3M sits at a unique intersection of portability, sensor capability, and positional precision that makes it exceptionally well-suited for urban wildlife inspection work. Its multispectral imaging reveals habitat data that RGB cameras simply cannot capture. Its RTK module delivers the centimeter precision required for defensible, repeatable ecological surveys. And its compact, IPX6K-rated airframe goes where fixed-wing platforms cannot.
The key to success isn't the hardware alone—it's the methodology. Calibrate rigorously. Plan conservatively. Process carefully. The workflows in this tutorial have been refined across dozens of real-world urban wildlife projects, and they deliver results that stand up to scientific scrutiny and regulatory review.
Ready for your own Mavic 3M? Contact our team for expert consultation.