Mavic 3M for Coastal Highway Inspection: A Focus Discipline
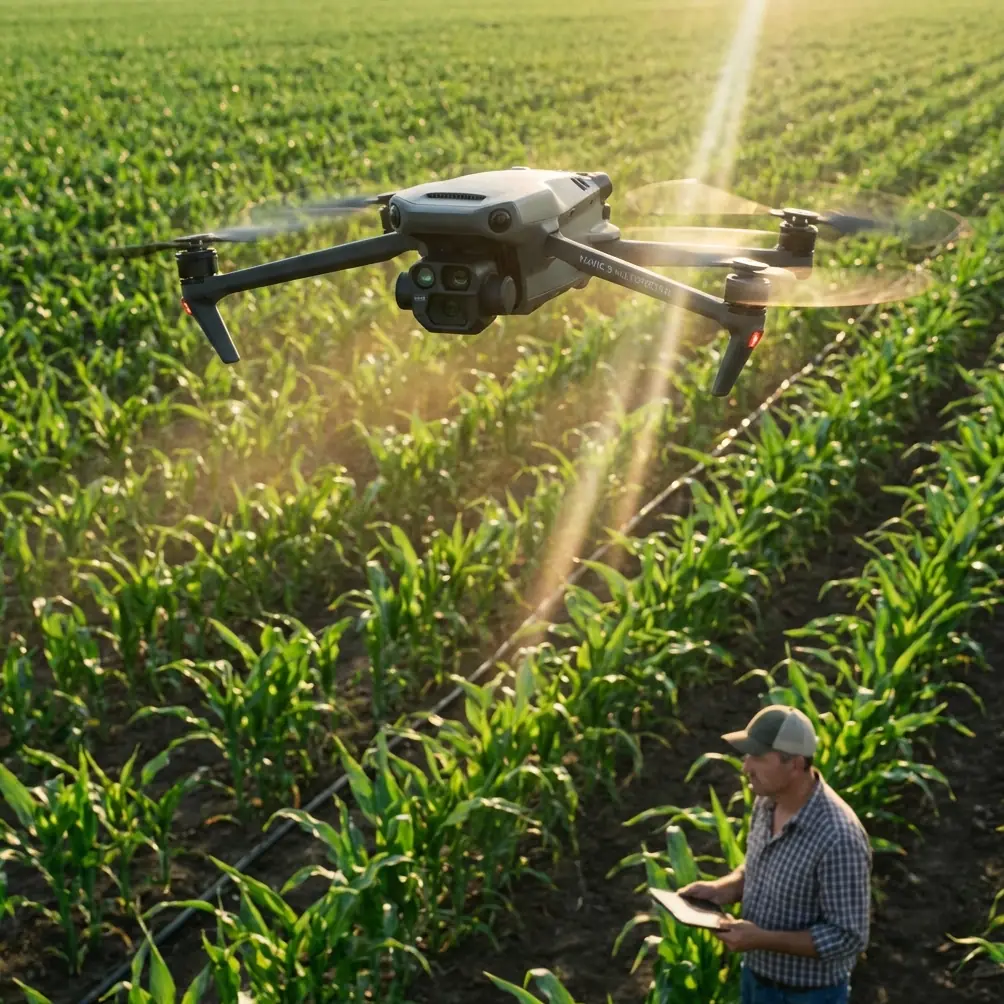
Mavic 3M for Coastal Highway Inspection: A Focus Discipline Case Study from the Field
META: A practical case study on using the Mavic 3M for coastal highway inspection, with expert guidance on focus control, exposure in manual mode, and field workflow decisions that protect image quality.
Coastal highway inspection looks straightforward on paper. Fly the corridor, capture the assets, review the imagery, write the report. The reality is harsher. Salt haze softens contrast. Wind pushes the aircraft off line. Bright water on one side and dark pavement on the other force constant exposure decisions. And when the image set comes back slightly soft, the problem is often blamed on weather, vibration, or the drone itself.
That explanation is usually wrong.
For Mavic 3M operators working highway jobs near the coast, one of the most expensive mistakes is confusing exposure control with focus control. The distinction sounds basic until a mission day gets busy. An operator switches to manual exposure to hold a consistent shutter and ISO across a bridge deck, assumes that “manual” now applies to the whole imaging process, and suddenly starts treating focus as if it also needs to be handled manually. The result is a dataset that looks acceptable on the controller but falls apart when reviewed at full size.
I have seen this pattern repeatedly in infrastructure capture workflows. The useful lesson is not merely photographic. It is operational. Once you understand that exposure mode and focus mode are separate systems, the Mavic 3M becomes far more predictable in inspection work.
Why this matters on a coastal highway job
A coastal highway is one of the least forgiving environments for image consistency. Reflective barriers, concrete seams, lane markings, drainage channels, expansion joints, and embankment vegetation all compete for attention within the same frame. In these conditions, clarity at the correct point in the image matters more than any abstract preference for “manual shooting.”
The reference point that deserves emphasis is simple: manual exposure mode controls exposure parameters such as shutter speed, aperture, and ISO. It does not decide whether the camera uses autofocus. Those are independent decisions. In practice, that means an Mavic 3M operator can lock exposure for repeatable inspection imagery while still using autofocus, full manual focus, or autofocus followed by manual fine adjustment.
That separation is not a technical footnote. It is the difference between a usable inspection record and a compromised one.
On one recent coastal corridor workflow review, the pilot had done many things correctly. Flight lines were clean. Overlap was consistent. Battery swaps were disciplined. Yet the detail needed for surface condition assessment on selected structures was weaker than expected. The culprit was not wind. It was a focus workflow error introduced after switching into manual exposure mode. The pilot had unconsciously disengaged autofocus logic as part of a “pro” shooting routine. The imagery suffered precisely where the job demanded certainty.
The Mavic 3M case study: where operators lose sharpness
The Mavic 3M is often discussed through its multispectral value, positioning performance, and data reliability. Those matter, especially when teams care about repeatability, centimeter precision, and maintaining a strong RTK fix rate across long inspection corridors. But none of that rescues a mission if the key visual frames are not sharply focused at the right point.
The field mistake usually shows up in one of three ways.
First, the operator assumes manual exposure means manual focus. It does not. You can fly in manual exposure and still rely on autofocus when that is the better tool.
Second, the autofocus mode is mismatched to the subject. The source material makes a critical point here: many blurred images come from selecting the wrong AF mode. A static subject should generally use single autofocus, often referred to as AF-S. Yet operators frequently leave the system in continuous autofocus, AF-C, even when they are documenting fixed infrastructure. Continuous focus has its place, but on static highway targets it can keep adjusting unnecessarily, especially in haze, over reflective surfaces, or with background elements that confuse the focusing system.
Third, the focus point is simply placed in the wrong location. The source uses portrait photography and the eye as the example, but the principle transfers directly to infrastructure work. On a highway inspection, the focus point must land on the actual feature that matters: a joint edge, a crack cluster, a fastener area, a drainage outlet, a barrier impact point. If focus falls behind or in front of that detail, a wide aperture and perfect exposure will not save the frame.
This is where some pilots lose confidence in the platform unfairly. They see softness and conclude the issue is vibration, compression, or lens limitation. Often the real issue is that focus and exposure were treated as a single control system when they are not.
Translating the source lesson into highway inspection workflow
The source article argues that focus and exposure are two different jobs. For Mavic 3M operations, that principle should be built into the preflight checklist, not left as personal style.
My preferred workflow for coastal highway inspection is structured around this separation:
- Lock exposure strategy first based on the corridor lighting pattern.
- Choose focus strategy second based on subject behavior.
- Confirm focus point placement before each critical capture segment.
- Review a sample frame at meaningful magnification, not just the thumbnail view.
That sequence sounds almost too modest to matter. In reality, it removes a large share of preventable blur.
Consider a static seawall segment beside a highway shoulder. The concrete face, anchor points, and drainage interfaces are not moving. In this case, single autofocus is usually the safer baseline because the subject is stable. Continuous autofocus introduces extra opportunities for the camera to chase changing contrast as sea spray, vehicles, or background water enter the scene. If you need to refine further, autofocus can acquire the subject and manual fine adjustment can follow. The key point from the source remains intact: manual exposure does not require abandoning autofocus.
Now consider a bridge transition zone with moving vehicles creating changing reflections and shadows. Operators sometimes respond by switching too many variables at once. They change shutter, change ISO, change focus mode, and shift shooting angle in quick succession. That destroys consistency. A better approach is to keep exposure decisions isolated from focus decisions. Solve the light problem with exposure tools. Solve the sharpness problem with the appropriate focus method.
Why AF-S is often the better fit for infrastructure assets
One detail from the source deserves to be taken seriously by inspection teams: a large share of blurry photos is linked to choosing the wrong autofocus mode, especially using AF-C when AF-S would be the correct fit.
That observation aligns closely with how highway inspection is actually performed. Most inspected elements are fixed. Guardrails do not move. Pavement defects do not track unpredictably. Sign supports, culverts, retaining surfaces, and expansion joints remain where they are. The aircraft may move, but the target itself is static. In those cases, AF-S reduces unnecessary hunting and lets the camera settle on the intended feature.
On the coast, this becomes even more valuable because atmosphere works against contrast. Salt mist and humidity can make distant edges look less decisive. A continuously adjusting focus system may respond to those fluctuations in ways that feel erratic. Single autofocus brings discipline to the process. Acquire the point. Confirm the point. Capture the frame.
That is not dogma. If the task genuinely involves a moving subject or a rapidly changing relative distance, continuous autofocus may be appropriate. But for typical Mavic 3M highway documentation, fixed infrastructure usually rewards a more deliberate focusing method.
The overlooked role of focus-point placement
The source also highlights another point that many operators underestimate: even with a large aperture, image sharpness fails if the focus point is not placed on the critical area. The portrait example mentions the eye. On a highway mission, the equivalent is the defect or reference feature that carries inspection value.
This matters because the Mavic 3M often collects data for multiple audiences at once. Asset managers want context. Engineers want feature-level clarity. GIS staff want spatial consistency. If the focus point sits on a nearby barrier edge while the needed detail is the drainage outlet beyond it, the frame may look “sharp” but still fail the inspection objective.
I teach crews to define the “inspection eye” before each segment. In human portraiture, that is literally the eye. In highway work, it may be the crack termination point, the bolt head, the delamination boundary, the marker plate, or the erosion lip. Once the team identifies that priority, focus placement becomes intentional instead of habitual.
This one adjustment improves image review quality more than many operators expect.
A battery tip from real field work
Since this article is built around a real operational scenario, one field note is worth adding. Coastal highway inspection often creates long, linear missions with repeated takeoff and landing cycles. The hidden cost is not just flight time. It is cognitive fatigue during battery changes.
My practical rule with the Mavic 3M is to use each battery swap as a reset for focus discipline, not just power continuity. After landing, crews naturally think about state of charge, route progress, and wind trend. They should also ask one fast question before the next launch: did the last segment remain critically sharp at the intended subject point?
That check pays off. A battery change is the cleanest moment to catch a focus workflow drift before it contaminates the next several kilometers of corridor imagery. When teams skip this pause, they often repeat the same soft-capture mistake across multiple sorties. When they use the swap as a quality gate, the mission improves immediately.
In salt-heavy environments, I also prefer keeping batteries staged in insulated shade rather than exposed on the vehicle dashboard or the roadside barrier. Stable battery handling supports stable decision-making. The image benefit is indirect but real. Crews under less thermal and procedural stress make fewer rushed camera errors.
Where multispectral and precision still fit into the story
The Mavic 3M earns attention for far more than RGB image capture, and coastal highway projects can benefit from that broader capability. Multispectral workflows may support adjacent vegetation monitoring, erosion pattern assessment, or drainage impact analysis near transport corridors. Strong positioning performance and centimeter precision help when repeat flights are needed to compare site conditions over time. A high RTK fix rate becomes especially useful when documentation must align with existing engineering references or when corridor changes need to be tracked tightly.
Still, those advantages should not distract from the central lesson. Precision in location does not compensate for imprecision in focus. A perfectly georeferenced soft image is still a weak inspection asset.
This is why camera discipline belongs in the same conversation as positional accuracy. The best corridor datasets are not only spatially reliable. They are visually decisive.
Building a better operator habit
If I were training a new Mavic 3M team for coastal highway inspection, I would reduce the camera lesson to three durable habits.
First, stop treating manual exposure mode as a master switch that changes everything. It only governs exposure variables.
Second, match autofocus behavior to the subject. For fixed infrastructure, AF-S is often the correct starting point. The source’s warning about blur from incorrect AF mode selection is not theoretical; it mirrors a real field failure pattern.
Third, place the focus point on the feature that carries engineering value. If the critical detail is not the thing being focused on, the frame may still be unusable.
These habits are simple enough to remember under pressure. That matters. Field workflows do not fail because operators lack intelligence. They fail because small misunderstandings survive contact with time pressure, weather, and routine.
For teams refining their corridor workflow or comparing setup choices before deployment, I usually recommend discussing a sample mission profile with someone who understands both airframe behavior and image-quality logic. If that would help, you can reach out through this direct field support channel: https://wa.me/85255379740
The real takeaway for Mavic 3M highway inspections
The most practical insight from the source material is also the one that gets ignored most often: focus and exposure are separate. Once that is understood, a surprising amount of image inconsistency disappears.
For coastal highway inspection with the Mavic 3M, this translates into a very clear operating advantage. You can hold manual exposure for consistency across difficult lighting, keep autofocus available when it serves the task, use single autofocus for static assets, and manually fine-tune when necessary. You can also make sure the focus point lands exactly where the inspection value lives rather than where the camera happens to find contrast.
That combination is what produces dependable imagery. Not mythology about “advanced mode.” Not ritualistic manual settings. Just correct separation of camera functions and disciplined execution in the field.
Ready for your own Mavic 3M? Contact our team for expert consultation.