Mavic 3M in Low Light: The Hidden Settings That Quietly
Mavic 3M in Low Light: The Hidden Settings That Quietly Ruin Construction-Site Image Quality
META: A technical review of Mavic 3M low-light performance for construction delivery and site documentation, with practical guidance on image softness, noise, haze, and EMI-related antenna adjustments.
Low-light work exposes every weak point in an aerial workflow. On a construction site, that usually shows up first in the images: soft edges, milky contrast, visible noise, and frames that look less trustworthy than the mission itself. Operators often blame the airframe, the sensor, the weather, or their own piloting. That instinct is understandable. It is also often wrong.
A recent tech piece about smartphone photography made a simple but surprisingly relevant argument: image quality is frequently damaged not by bad hardware, but by default-enabled camera functions buried in menus. The article claimed that five settings commonly left on can make images look blurry, fuzzy, noisy, or foggy, regardless of whether the device is an entry-level model or a more capable one. That is a phone story on the surface, but the operational lesson carries directly into Mavic 3M work on construction projects, especially after sunset, before sunrise, or under overcast skies.
For teams using the Mavic 3M around active sites, low-light success is rarely about one headline feature. It is about restraint. Too much automated processing, too much trust in defaults, and too little attention to signal quality can degrade usable data long before the pilot notices a problem on the live view.
Why this matters specifically for Mavic 3M on construction jobs
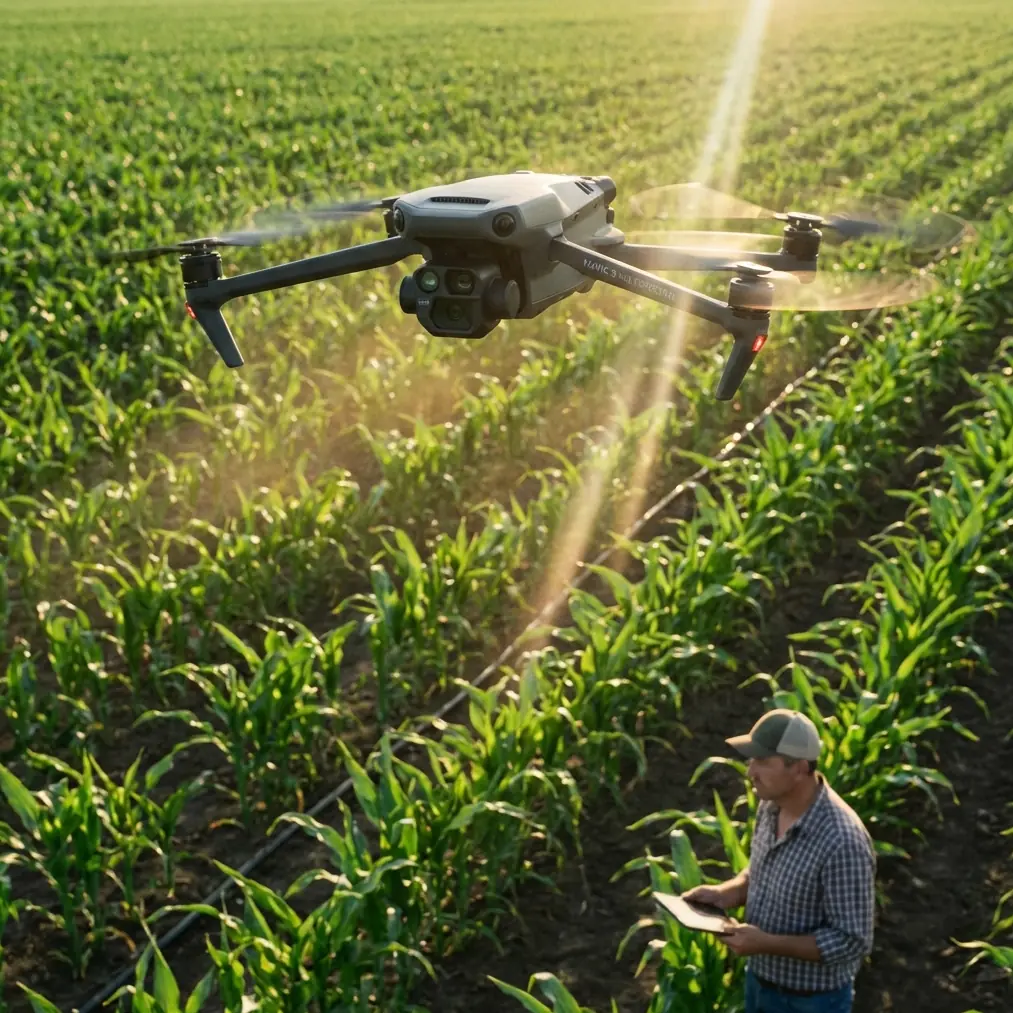
Mavic 3M is usually discussed through its multispectral identity, mapping utility, and centimeter precision workflows when paired with RTK. On construction projects, though, the aircraft often becomes more than a mapping tool. It may support time-sensitive logistics checks, twilight stockpile verification, access-route documentation, drainage assessment, roof progress monitoring, and material drop confirmation in lighting conditions that are far from ideal.
That changes the imaging equation.
In broad daylight, aggressive processing can sometimes hide its own mistakes. In low light, it cannot. Noise reduction smears texture. Sharpness enhancement creates edge halos. Contrast tweaks suppress detail in shadows. Auto scene logic may brighten the frame while quietly sacrificing clarity. What the operator sees on screen as a “cleaner” image may actually be less useful for identifying cable runs, rebar bundles, scaffold tie-ins, standing water, or the exact landing condition of a delivery point.
The smartphone article’s core point was blunt: many users assume they need better technique, when the real issue is a group of default functions working against them. Replace “phone user” with “construction drone operator,” and the lesson still stands.
The low-light trap: blur that is not really motion blur
Construction crews often describe bad low-light drone imagery with the same handful of words: blurry, soft, noisy, washed out. Those terms appeared in the smartphone reference as well, which noted complaints such as photos looking “糊” (blurry), “发虚” (soft or lacking definition), full of noise, or even “雾蒙蒙”—a hazy, low-texture look.
That is operationally significant because not all blur comes from flying too fast or from poor stabilization. Some of it is computational. Some comes from settings designed to make images look pleasant rather than accurate.
With the Mavic 3M, that distinction matters in two ways:
Visual trust affects flight decisions.
If the pilot cannot confidently read the scene, approach planning for low-light delivery becomes slower and less precise.Image trust affects post-flight decisions.
Site managers reviewing poor imagery may question whether the delivery landed at the correct point, whether obstructions were present, or whether progress records are reliable enough for handoff documentation.
In other words, a frame that merely looks “not great” to a casual observer may be operationally weak in a way that affects accountability.
The five-setting lesson, translated for drone operators
The reference article emphasized five default-enabled functions that users often leave active because they are hidden, named differently across brands, or framed as beneficial. That exact menu map is phone-specific, but the larger discipline applies to the Mavic 3M ecosystem: treat every automatic image enhancement as something to validate, not something to trust.
On a low-light construction mission, review these categories of behavior in your workflow:
1. Overactive noise cleanup
Noise reduction is useful until it starts erasing texture. On a site, texture is data. Fine gravel, formwork edges, painted utility markings, temporary fencing, cable trays, and surface cracks all depend on subtle tonal separation. Excess cleanup can turn legitimate detail into waxy patches.
The phone article’s observation that images can become noisy and muddy at the same time is not contradictory. Heavy processing often produces exactly that mix: blotchy noise in the dark zones and smearing in the midtones.
2. Artificial sharpening
When the image processor tries to compensate for softness, edges can look harsher without becoming more informative. Steel members, façade seams, scaffold joints, and stacked materials may appear crisp at first glance, but close inspection shows halos and broken lines. That is not clarity. It is decoration.
3. Scene optimization that lifts brightness at the expense of fidelity
Low-light automation often tries to make the frame brighter for easier viewing. Good for comfort, bad for analysis. If highlights on reflective sheeting clip out while shadow detail is flattened, your site image is less useful even if it looks “better exposed” on the controller.
4. Haze-like processing
The smartphone source specifically described images that feel foggy and lacking in texture. Drone operators know this look. It can come from genuine atmospheric conditions, but it can also come from processing choices that suppress local contrast. On dusty or humid construction sites, that effect compounds quickly.
5. Hidden defaults that differ by system
One of the smartest parts of the source material was not the number five by itself. It was the warning that these features are often present across many devices, just under different names. That is directly relevant for mixed drone teams. A pilot trained on one controller or app version may assume another setup behaves the same way. It often does not.
The practical takeaway is simple: if your Mavic 3M low-light output looks softer than it should, inspect processing assumptions before blaming optics, pilot skill, or platform capability.
RTK precision is not the same as image truth
The Mavic 3M earns attention because it can support RTK Fix rate expectations tied to mapping-grade repeatability. On construction sites, that can be a major advantage. Consistent positioning helps with corridor checks, progress baselines, earthwork measurement, and repeat flights over changing structures.
But there is a subtle trap here. Teams sometimes assume that if positioning is solid, the visual output must also be dependable. Not so.
A strong RTK solution gives location confidence. It does not guarantee that the visual layer is free from excessive smoothing, haze-like processing, or low-light artifacts. You can have a highly repeatable flight path and still bring home imagery that obscures the exact condition of a rooftop edge, delivery zone markings, or material separation.
That matters on sites where low-light delivery support overlaps with documentation. Precision in where the aircraft was is only half the story. Precision in what the camera actually preserved is the other half.
Electromagnetic interference: where image confidence and control confidence meet
Construction sites are crowded electromagnetic environments. Temporary power systems, cranes, site offices, reinforced concrete, container stacks, metal decking, generators, and telecom equipment can all complicate signal behavior. For Mavic 3M operators, this becomes more noticeable at dawn, dusk, or nighttime missions because the tolerance for uncertainty is lower. You are relying more heavily on clean telemetry and stable video just when visual cues are weaker.
That is where antenna adjustment stops being a beginner tip and becomes a serious operational tool.
When you suspect electromagnetic interference, poor antenna orientation can make a manageable problem look like a bigger one. The symptom may present as unstable transmission, degraded live view quality, delayed situational awareness, or controller behavior that feels less decisive than expected. On a low-light site, that can tempt the pilot to attribute every visual issue to the camera itself.
A disciplined approach looks like this:
- Reassess controller-to-aircraft antenna orientation before moving position.
- Avoid standing near large conductive surfaces or energized site equipment if the signal suddenly degrades.
- Use test hovers to compare feed stability before committing to the delivery leg.
- Separate actual camera softness from transmission artifacts in the live view.
This distinction is critical. If the downlink is compromised by EMI and antenna geometry, the pilot may misdiagnose a feed issue as an optical one. That leads to wrong corrective action.
On some sites, a small repositioning of the pilot station and a deliberate antenna angle change can restore enough link quality to make landing-zone evaluation much more reliable. It is not glamorous, but it is often the difference between a controlled low-light operation and a hesitant one.
Low-light delivery on site: what actually deserves your attention
For construction readers interested in “delivering in low light,” the conversation should be narrower and more practical than the marketing version.
You are not trying to create a dramatic night image. You are trying to answer site questions without ambiguity:
- Is the drop zone clear?
- Can the operator distinguish personnel exclusion boundaries?
- Are materials or obstructions encroaching on the landing area?
- Does the imagery preserve enough edge definition for post-mission confirmation?
- Is the aircraft maintaining reliable positioning and signal integrity around steel, concrete, and temporary power infrastructure?
This is where the Mavic 3M’s broader ecosystem matters. Its value is not only in multispectral workflows. It is in its ability to sit inside a disciplined operational stack: repeatable positioning, controlled imaging behavior, and link management in difficult environments.
If your workflow also crosses into agricultural or environmental analysis, the same discipline translates. Terms like spray drift, nozzle calibration, and swath width belong to different mission profiles, but they point to the same professional habit: do not trust assumptions. Validate the variables that quietly distort results.
Low-light construction work deserves that same mindset.
A field method that saves time
Before a real low-light delivery or documentation run, use a short pre-mission image validation routine:
- Hover over a detail-rich area with mixed textures: gravel, painted markings, metal edges, and shadow zones.
- Capture comparison frames with conservative image processing choices.
- Review at full resolution, not only on the live display.
- Repeat after any controller relocation if EMI is present.
- Confirm that what looks sharp in the feed is also sharp in the file.
This is the drone equivalent of the smartphone article’s “find it and turn it off” philosophy. The point is not to disable features blindly. The point is to stop assuming that defaults are helping.
If your team wants a second opinion on tuning a low-light Mavic 3M workflow around construction logistics and transmission stability, you can message Marcus directly here.
The real lesson from an unlikely source
At first glance, a consumer phone article about blurry photos seems far removed from a professional Mavic 3M workflow. It is not.
Its strongest insight is that users often misidentify the cause of poor images. They blame hardware tier, price bracket, or personal technique, when the real culprit is hidden automation. The article even stressed that these issues affect devices across classes, from entry-level to more capable models. That should sound familiar to drone teams. A high-end airframe does not exempt you from bad defaults, especially when lighting gets difficult.
For construction operators, the message is clear:
- Low-light softness is not always a flying problem.
- Noise is not always a sensor limitation.
- Haze is not always weather.
- A weak live view is not always a camera problem.
- And precision positioning does not automatically make the imagery trustworthy.
The Mavic 3M can be a highly effective platform for low-light construction support when the workflow respects those distinctions. That means auditing hidden processing behavior, checking whether the image file matches the live view, and treating antenna adjustment as part of the imaging workflow whenever electromagnetic interference is in play.
That is how you get from “the footage looked okay on site” to data a project team can actually rely on.
Ready for your own Mavic 3M? Contact our team for expert consultation.